Here is another quick steps guide to help you setup an S3 bucket on AWS to use for general purpose backups and storage. If you are yet to create an AWS account, please follow step 1 and 2 from our Setting up EC2 Instances on AWS quick guide.
Step 1:
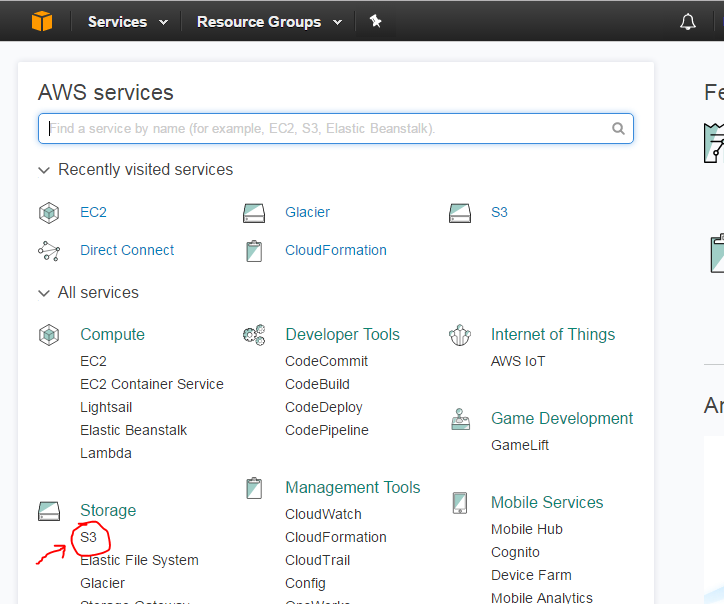
Click on the S3 link in your dashboard.
Step 2:
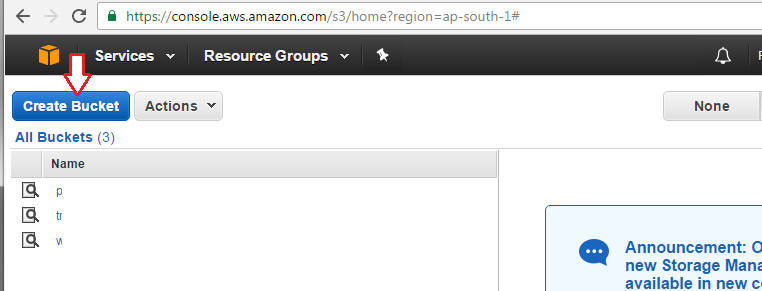
Click on Create Bucket.
Step 3:
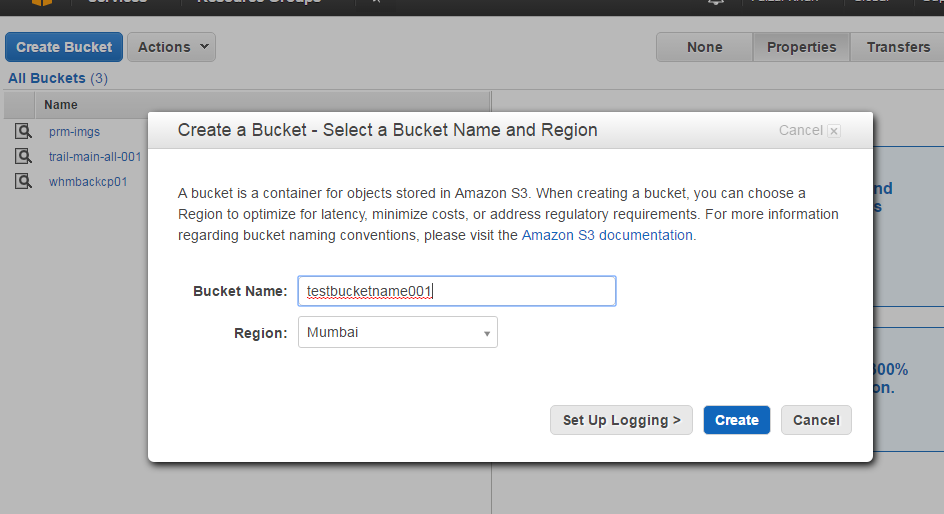
Type in the name of the bucket you want. Remember, this has to be globally unique, so you will have to have a very customized bucket name as the generic names would have already been taken. Spaces not allowed, use hypen “-” instead. Select the region you want it in and hit Create.
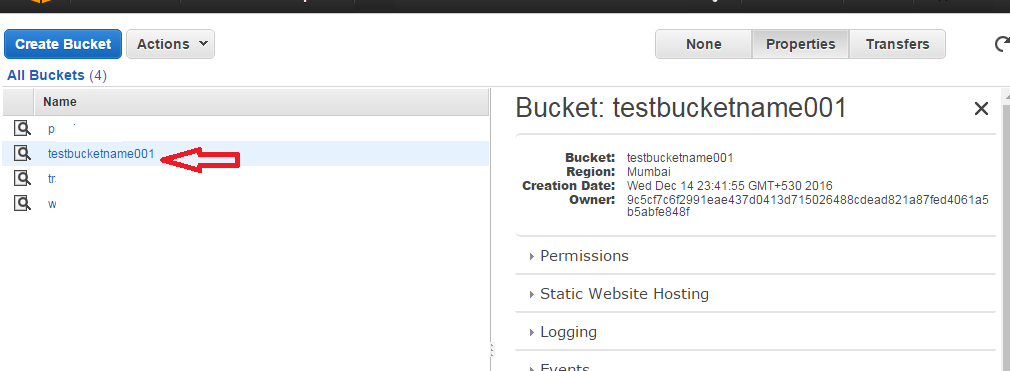
That’s it! You now have your own storage bucket on S3. Go ahead and click on the bucket name and you can start uploading your files directly into the bucket by clicking on Actions > Upload.
To access the S3 bucket directly from your desktop/laptop, you could use an application called ‘Cloudberry Explorer for Amazon S3’. Just remember that you will have to create an IAM user that has read/write access to S3 before you can use applications like Cloudberry. Follow the blog for more updates and guides about setting up the finer details of S3 like Lifecycle Management, Versioning, Static Web Hosting etc.

 INR ₹
INR ₹
 USD $
USD $
0 responses on "Creating an S3 Bucket on AWS"